Setting up to watch
Monitoring only works if you can compare. A wander with a camera tells you little; the same spot, photographed the same way, three years running, tells you a great deal. Set the fixed points up first — everything else in Part 3 hangs off them.
Protocol — photo points
- Where
- Three to five spots covering the different parts of your block — badly burnt, lightly burnt, and anything that escaped. If your place hasn’t burnt, set them up in your best country first (6.2).
- Setting up
- Mark the standing position with a star picket or post. Choose a fixed landmark to frame on — a tree, a ridge line, a gate — so the shot is repeatable without measuring.
- Each visit
- Stand in the same place, face the same way, take the same shot. Record the point name and the date.
- How often
- Monthly for the first year, then seasonally. The first year is when the change is fastest and most worth having.
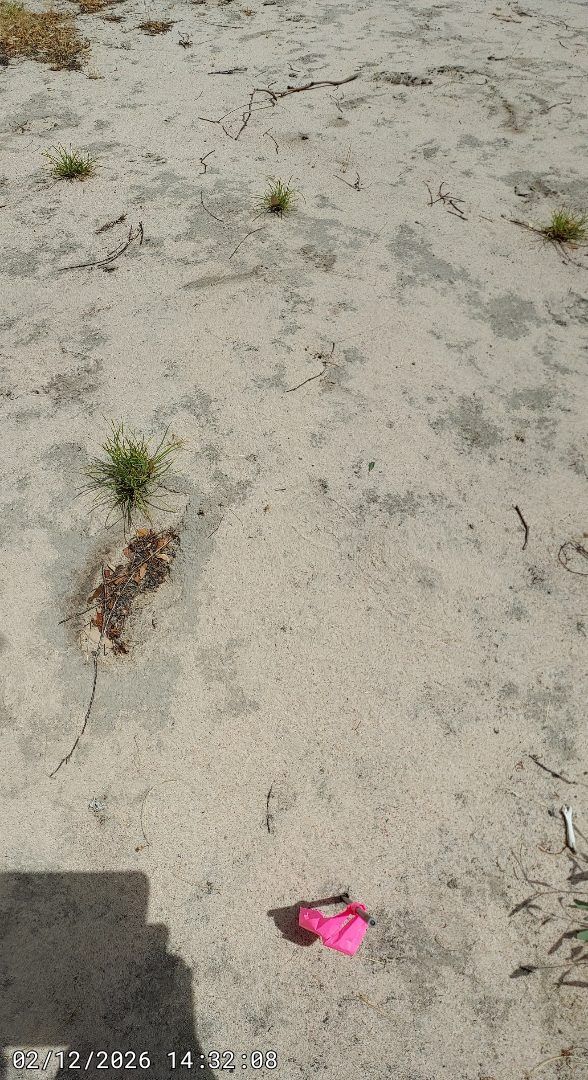
Monitoring plots
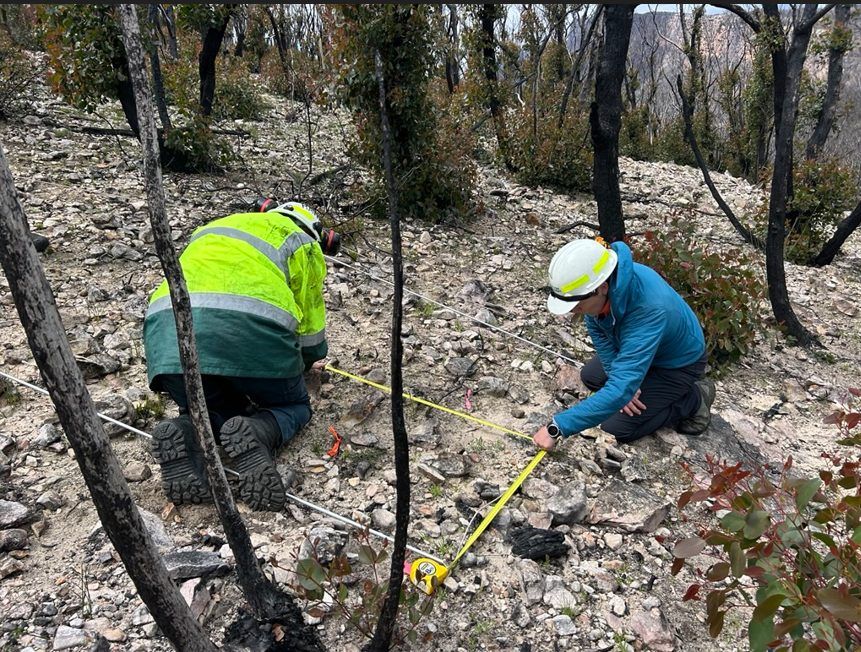
Pick two areas of about two hectares in the parts of the block you most want to know about, and mark the corners so you can find them again. Use the same two plots for the hollow transect1 (4.6), habitat structure (3.3) and bird surveys (3.5). Two plots lets you compare, which is what makes any of the numbers mean something.
You can add photo points at any time, and after a fire you certainly will. But the before photograph is the one you cannot go back and take, and it is worth most at the places that matter most — the patches you identified as your best country (2.2).
A point set up afterwards tells you how that ground recovered. A point set up beforehand tells you what it recovered to, and whether it got back there.
Keep a simple record
Date, what you did, what you saw. A notebook is enough. What matters is that it is continuous — gaps are what make monitoring data hard to use later.